


Introduction
Cloudinary is a SaaS technology company that provides a cloud-based image and video management services. It enables users to upload, store, manage, manipulate, and deliver images and video for websites and apps
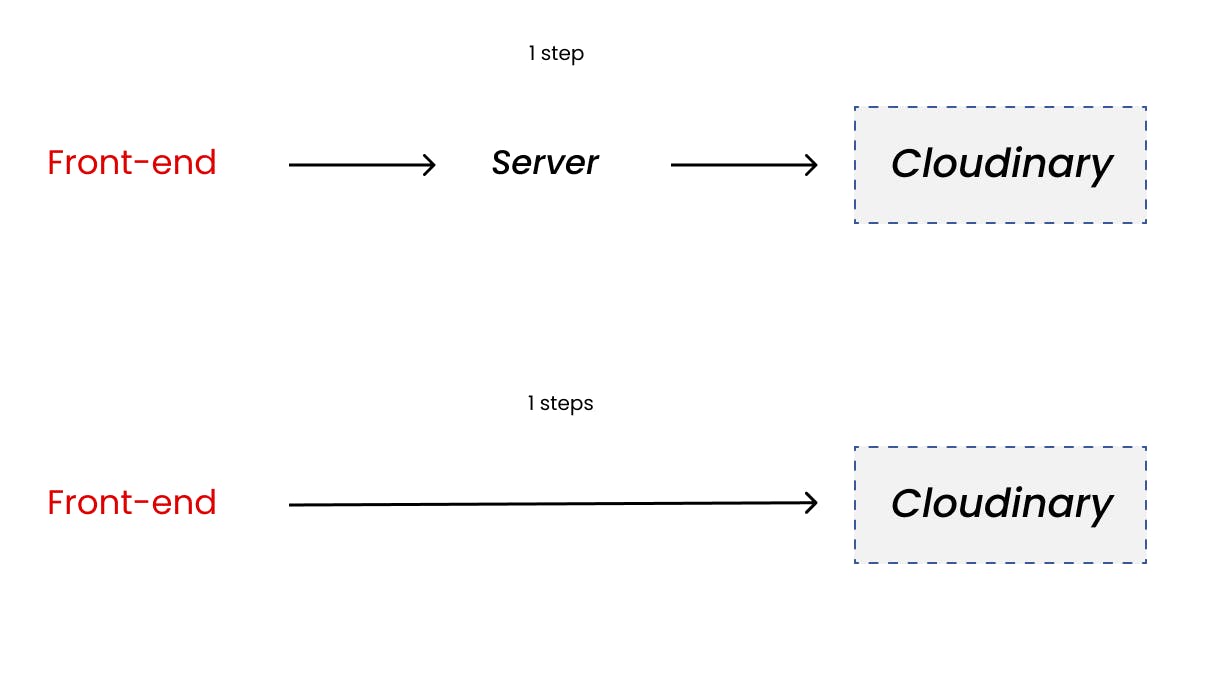
The most common approach to uploading files directly to cloudinary would be to first upload to the server e.g Node.js, Go, PHP then from the server upload to cloudinary. In this article we will learn how to upload directly to cloudinary using React hereby eliminating the need to first send the file to the server. PS: This approach can also be used with any other technology and not just react
Prerequisites
- Code editor that supports JS (preferable VS code)
- Cloudinary account
- Knowledge of React JS
- Familiar with cloudinary dashboard
Why upload to cloudinary directly?
As stated earlier, the most common way through which media files are uploaded to cloudinary directly would be to first send to the server then upload to cloudinary. This approach can be improved if we can remove the first step of sending to the server and rather send to the cloudinary directly from the front end. For Example, Imagine we want to upload a 10mb image but first upload to the server which will take let’s say 10 seconds, then the server uploads the 10mb images again to cloudinary which takes another time. The point of this new approach is to eliminate the need to upload first to the server which will not just save us resources but also save us time and improve user experience.
Cloudinary setup
Before uploading directly to cloudinary you need to setup the your cloudinary account to accept uploads directly. Below are the steps
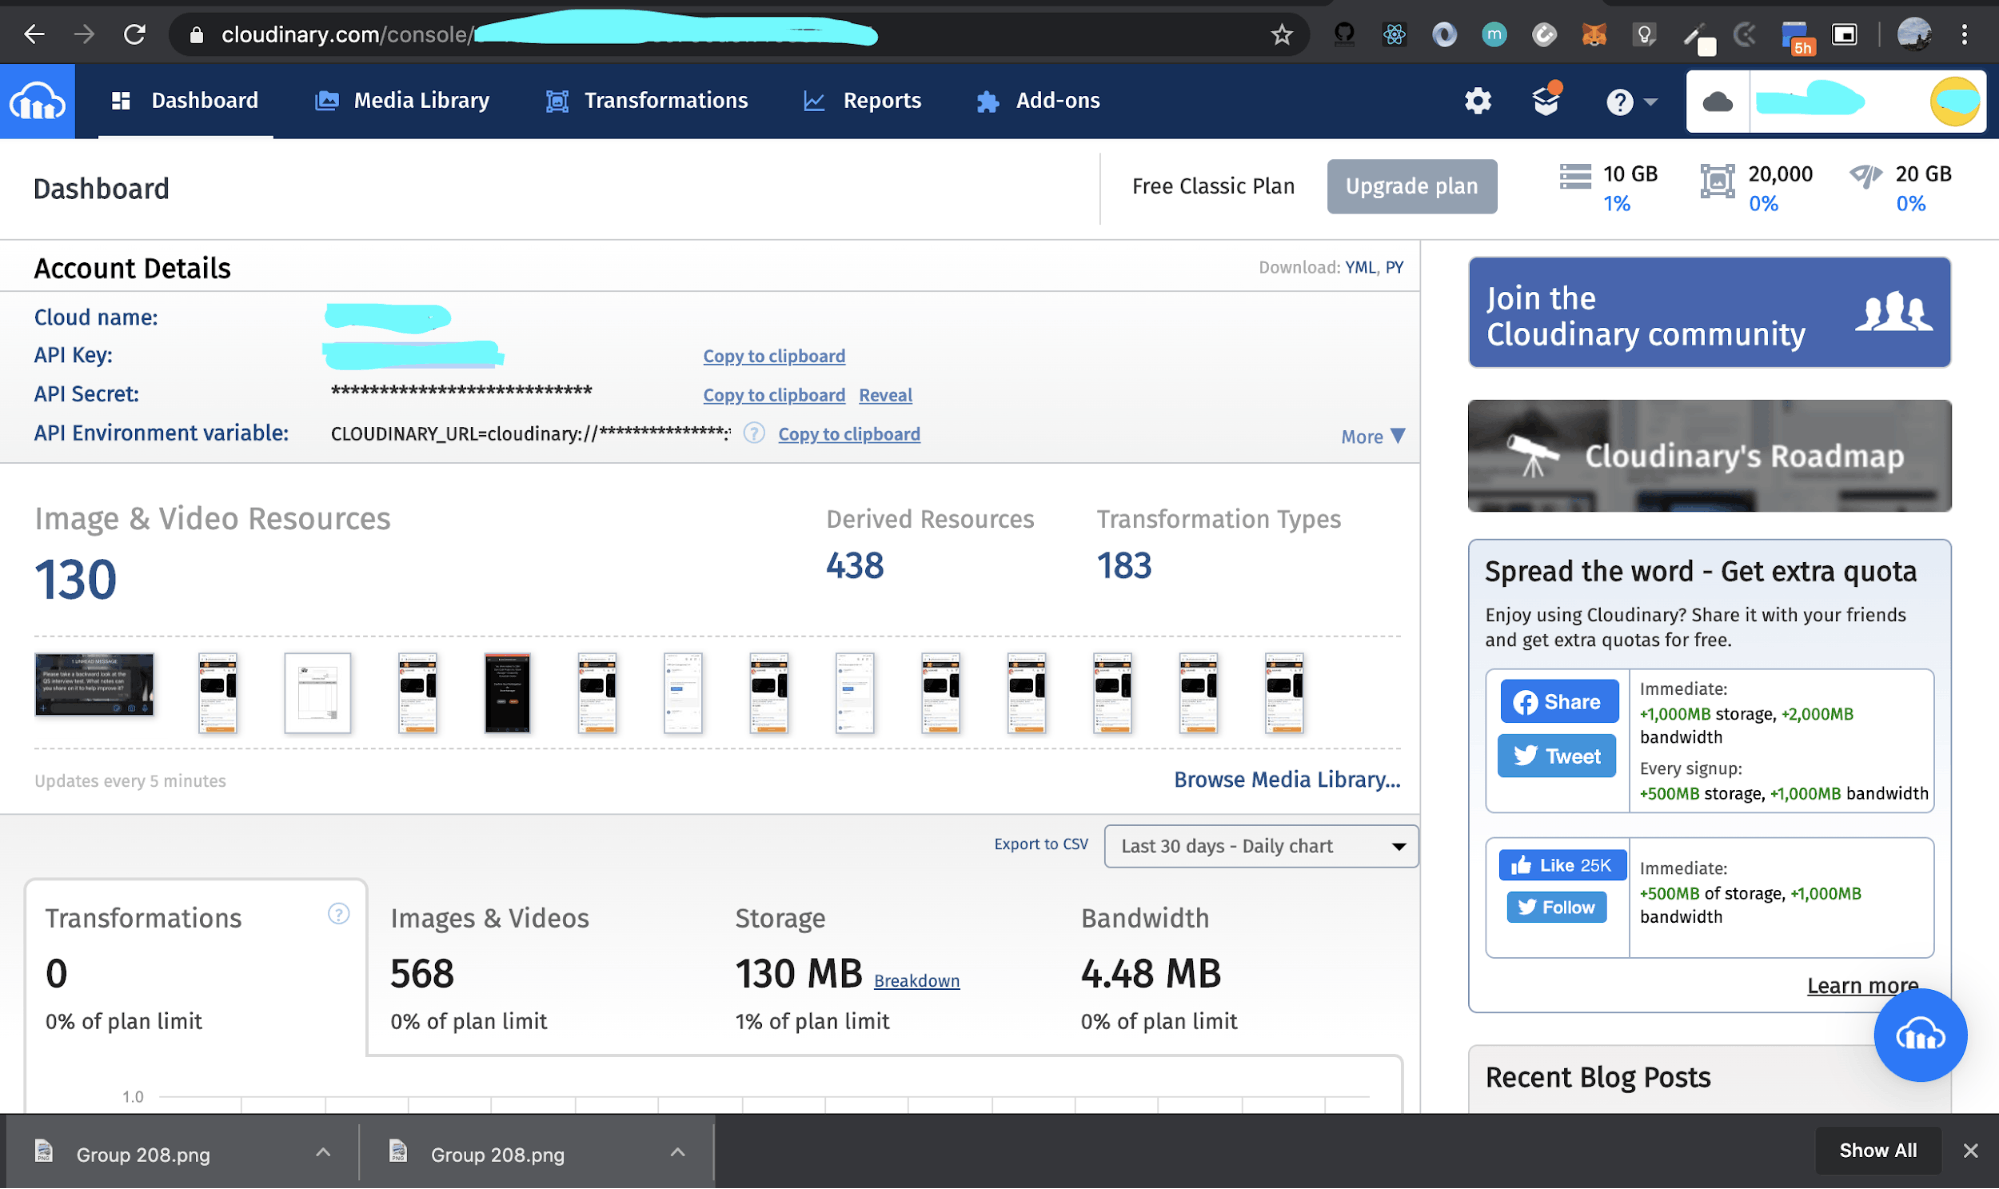
Step 1: Login to cloudinary
Step 2: Go to settings/ upload
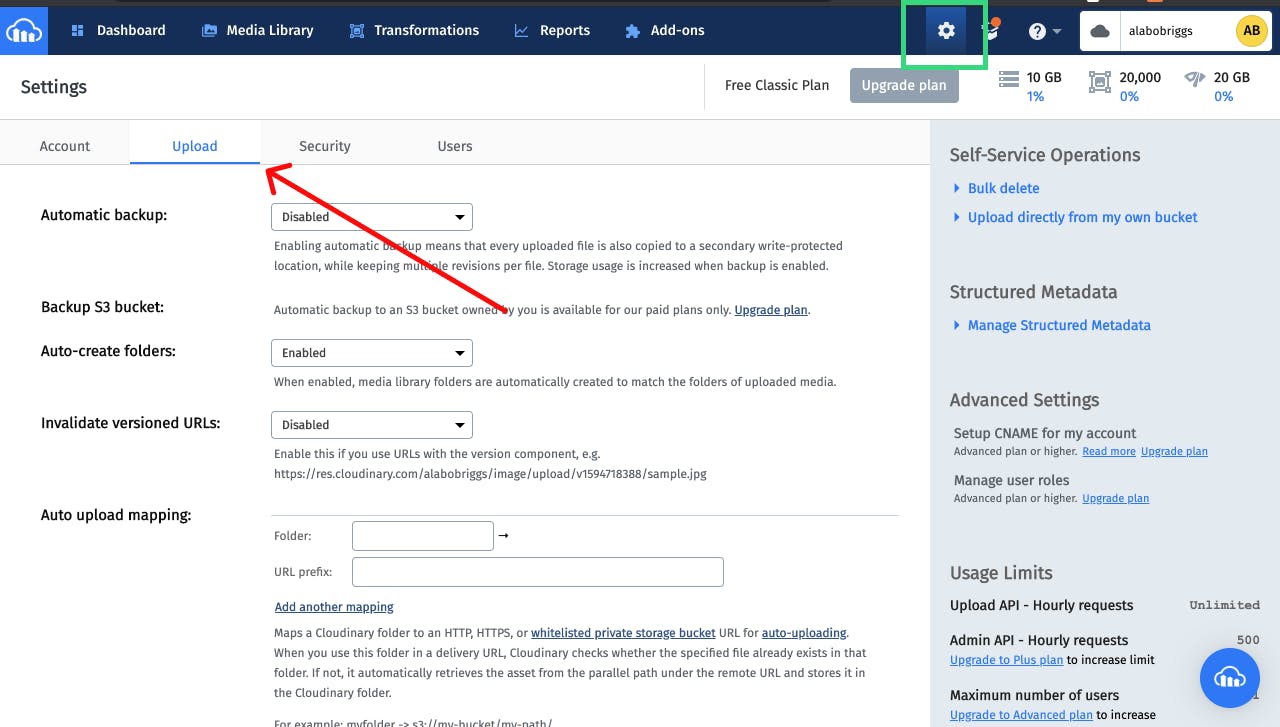
Step 3: Scroll down and click on “add upload preset”
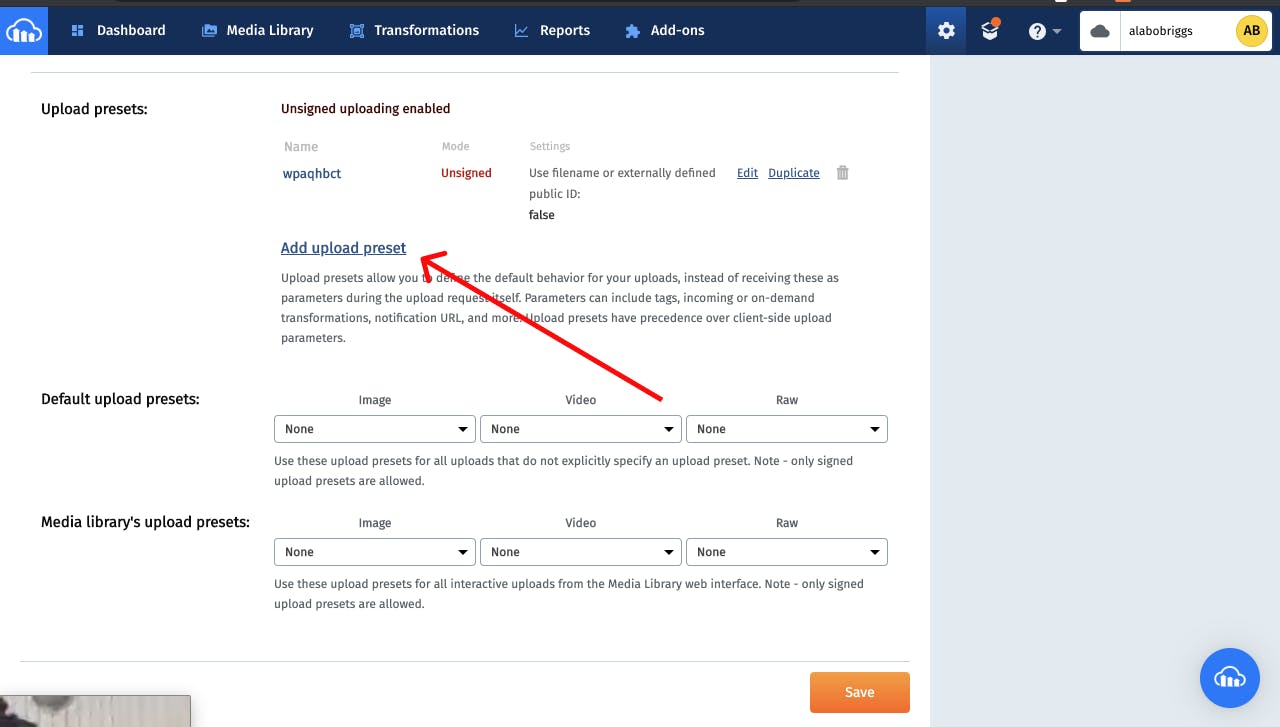
Step 4: Fill out the form
- Fill out the preset and folder name.
- Change “signed mode” to unsigned upload
- Note: “folder” is the name of the folder the files will be uploaded to.

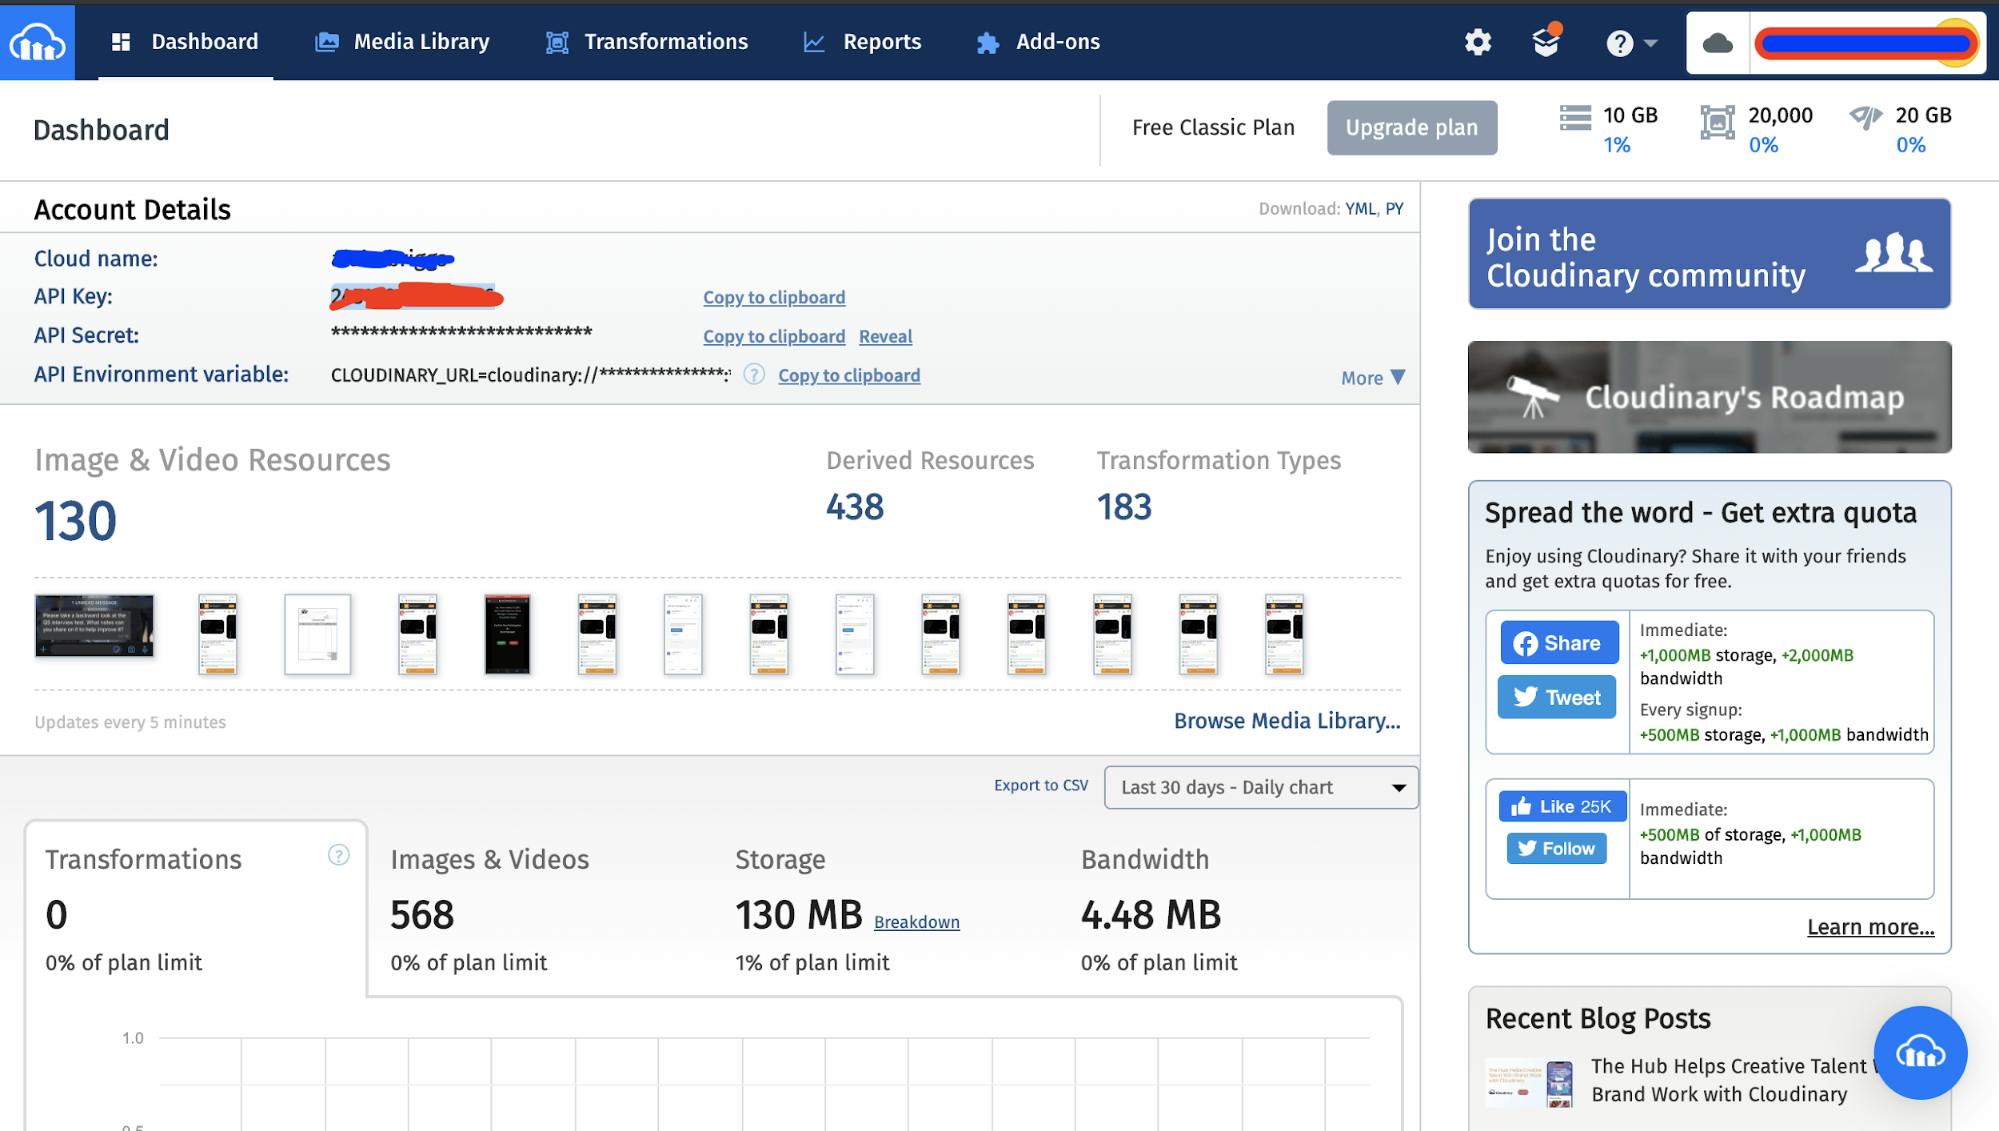
Step 5: Copy preset name and api key
In your dashboard copy your API and the name of the just created preset name. It will be needed to make the direct upload using axios.
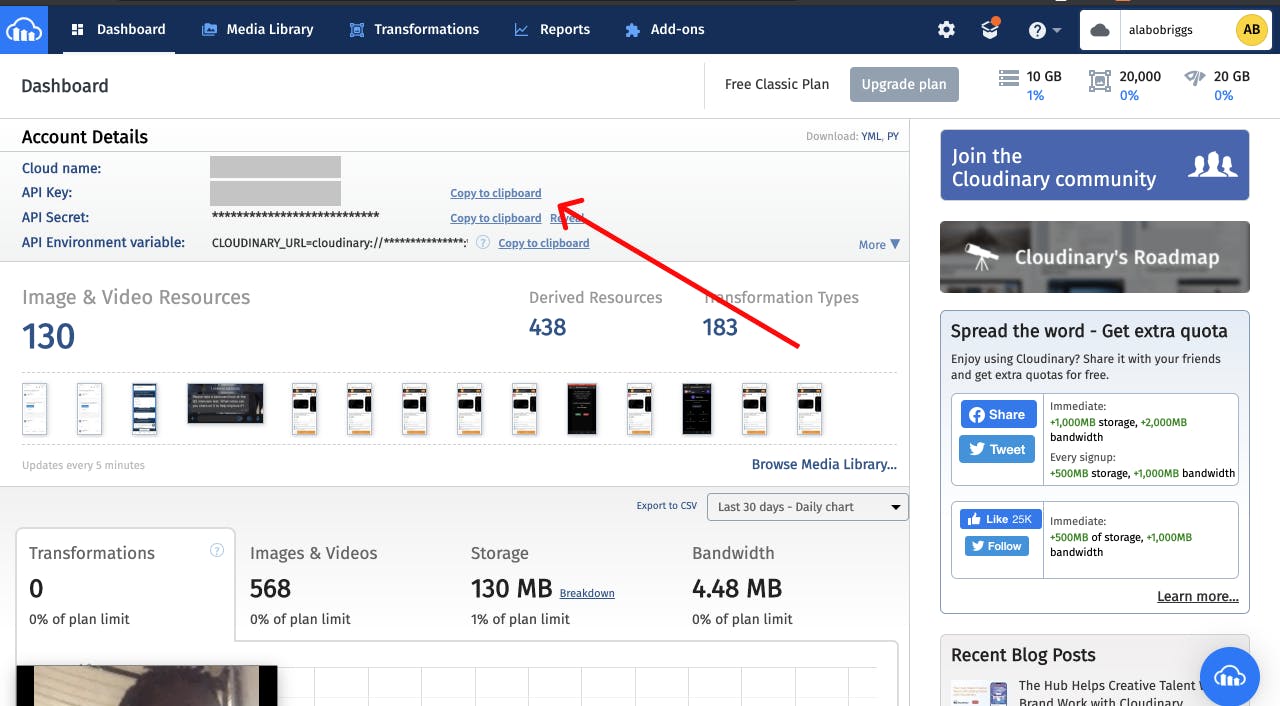
Save the copied key and preset name and proceed to the next section
Uploading using react
After the above steps have been completed the next step would be to upload a file directly to cloudinary directly from your react app. To achieve this we follow the steps below.
Note: You should already have your react app setup to follow this steps
Step 1: Create file input component
const FileInput = () => {
 return <input type="file" onChange={()=>{}} />;
};

export default FileInput;
Step 2: Add an onChange handler to handle input change
const FileInput = () => {
   const onChangeHandler = ({target:{files}}) => {
     handleUploadImages({files);
   };
   return <input type="file" onChange={onChangeHandler} />;
};
Step 3: Add function to upload to cloudinary
This function will upload the selected file to cloudinary directly using axios.
const handleUploadImages = async (images) => {
   try {
     const uploads = images.map(async (image) => {
       try {
         const formData = new FormData();
         formData.append('file', image);
         formData.append('tags', `tutorial`);
         formData.append('upload_preset', 'tutorial');
         formData.append('api_key', 'API_KEY');
         formData.append(
           'timestamp',
           // eslint-disable-next-line newline-per-chained-call
           moment().utcOffset('+0100').format('LLLL')
         );

         const uploadResponse = await Axios.post(

      'https://api.cloudinary.com/v1_1/CLOUDINARY_USERNAME/image/upload',
           formData,
           { headers: { 'X-Requested-With': 'XMLHttpRequest' } }
         );
         return uploadResponse;
       } catch (err) {
         return console.log(err);
       }
     });

     const uploadResponses = await Axios.all(uploads);

     console.log(uploadResponses);
   } catch (err) {
     return console.error(err);
   }
 };
From the code above you can see that some values are appended to the form data before uploading.
- upload_preset: This is the name of the upload preset that was created on cloudinary in step 3 and 4.
- api_key: This is the api key on your cloudinary dashboard
- tags: This is the tags that can be used to sort the image in your cloudinary dashboard. The value can be anything. In this case we call it “tutorial”
- file: This is the file to be uploaded
- timestamp: This is simply the time the picture was uploaded. In the case we used moment JS to get the time
If noticed above we mapped over the selected files and uploaded each individually this is in cases of multiple file uploads. Then we used Axios.all() to send all request simultaneously without having to wait for one to finish before the next one starts
const handleUploadImages = async (images) => {
   try {
     const uploads = images.map(async (image) => {
          // do things on things here
     });

     const uploadResponses = await Axios.all(uploads);

     console.log(uploadResponses);
   } catch (err) {
     return console.error(err);
   }
 };
After the above steps your component should look like this
import Axios from 'axios';
import moment from 'moment';


const FileInput = () => {
 const handleUploadImages = async (images) => {
   try {
     const uploads = images.map(async (image) => {
       try {
         const formData = new FormData();
         formData.append('file', image);
         formData.append('tags', `product`);
         formData.append('upload_preset', 'tutorial'); // this is yout upload opreset
         formData.append('api_key', 'API_KEY'); // This is your upload key
         formData.append(
           'timestamp',
           // eslint-disable-next-line newline-per-chained-call
           moment().utcOffset('+0100').format('LLLL')
         );

         const uploadResponse = await Axios.post(
           'https://api.cloudinary.com/v1_1/CLOUDINARY_USERNAME/image/upload',
           formData,
           { headers: { 'X-Requested-With': 'XMLHttpRequest' } }
         );
         return uploadResponse;
       } catch (err) {
         return console.log(err);
       }
     });

     const uploadResponses = await Axios.all(uploads);

     console.log(uploadResponses);
   } catch (err) {
     return console.error(err);
   }
 };

 const onChangeHandler = ({target: {files}}) => {
   handleUploadImages(files);
 };

 return <input type="file" onChange={onChangeHandler} />;
};

export default FileInput;
You can then send the return object from cloudinary to your server and the most important fields are secure_url and public_id. Of which you can used public_id for complex transformations and secure_url to access the image barebones. You will also find other fields there which you might find useful.
Conclusion
Uploading directly to cloudinary by first sending to the server is a good approach but it can be better optimized by uploading directly to cloudinary whilst eliminating the need to first upload to the server first then from server to cloudinary. This helps save resource and gives a better user experience as time for file uploads will be reduced by a great percentage.